Modified Case Jig Instructions
The patent-pending modified case jig makes it simple to drill and tap modified cases for Stony Point Overall Length Gauge, Hornady Lock N Load* Overall Length Gauge and similar systems.
With the modified case jig, no other specialty equipment is needed to quickly and easily make your own modified cases custom with your own brass.
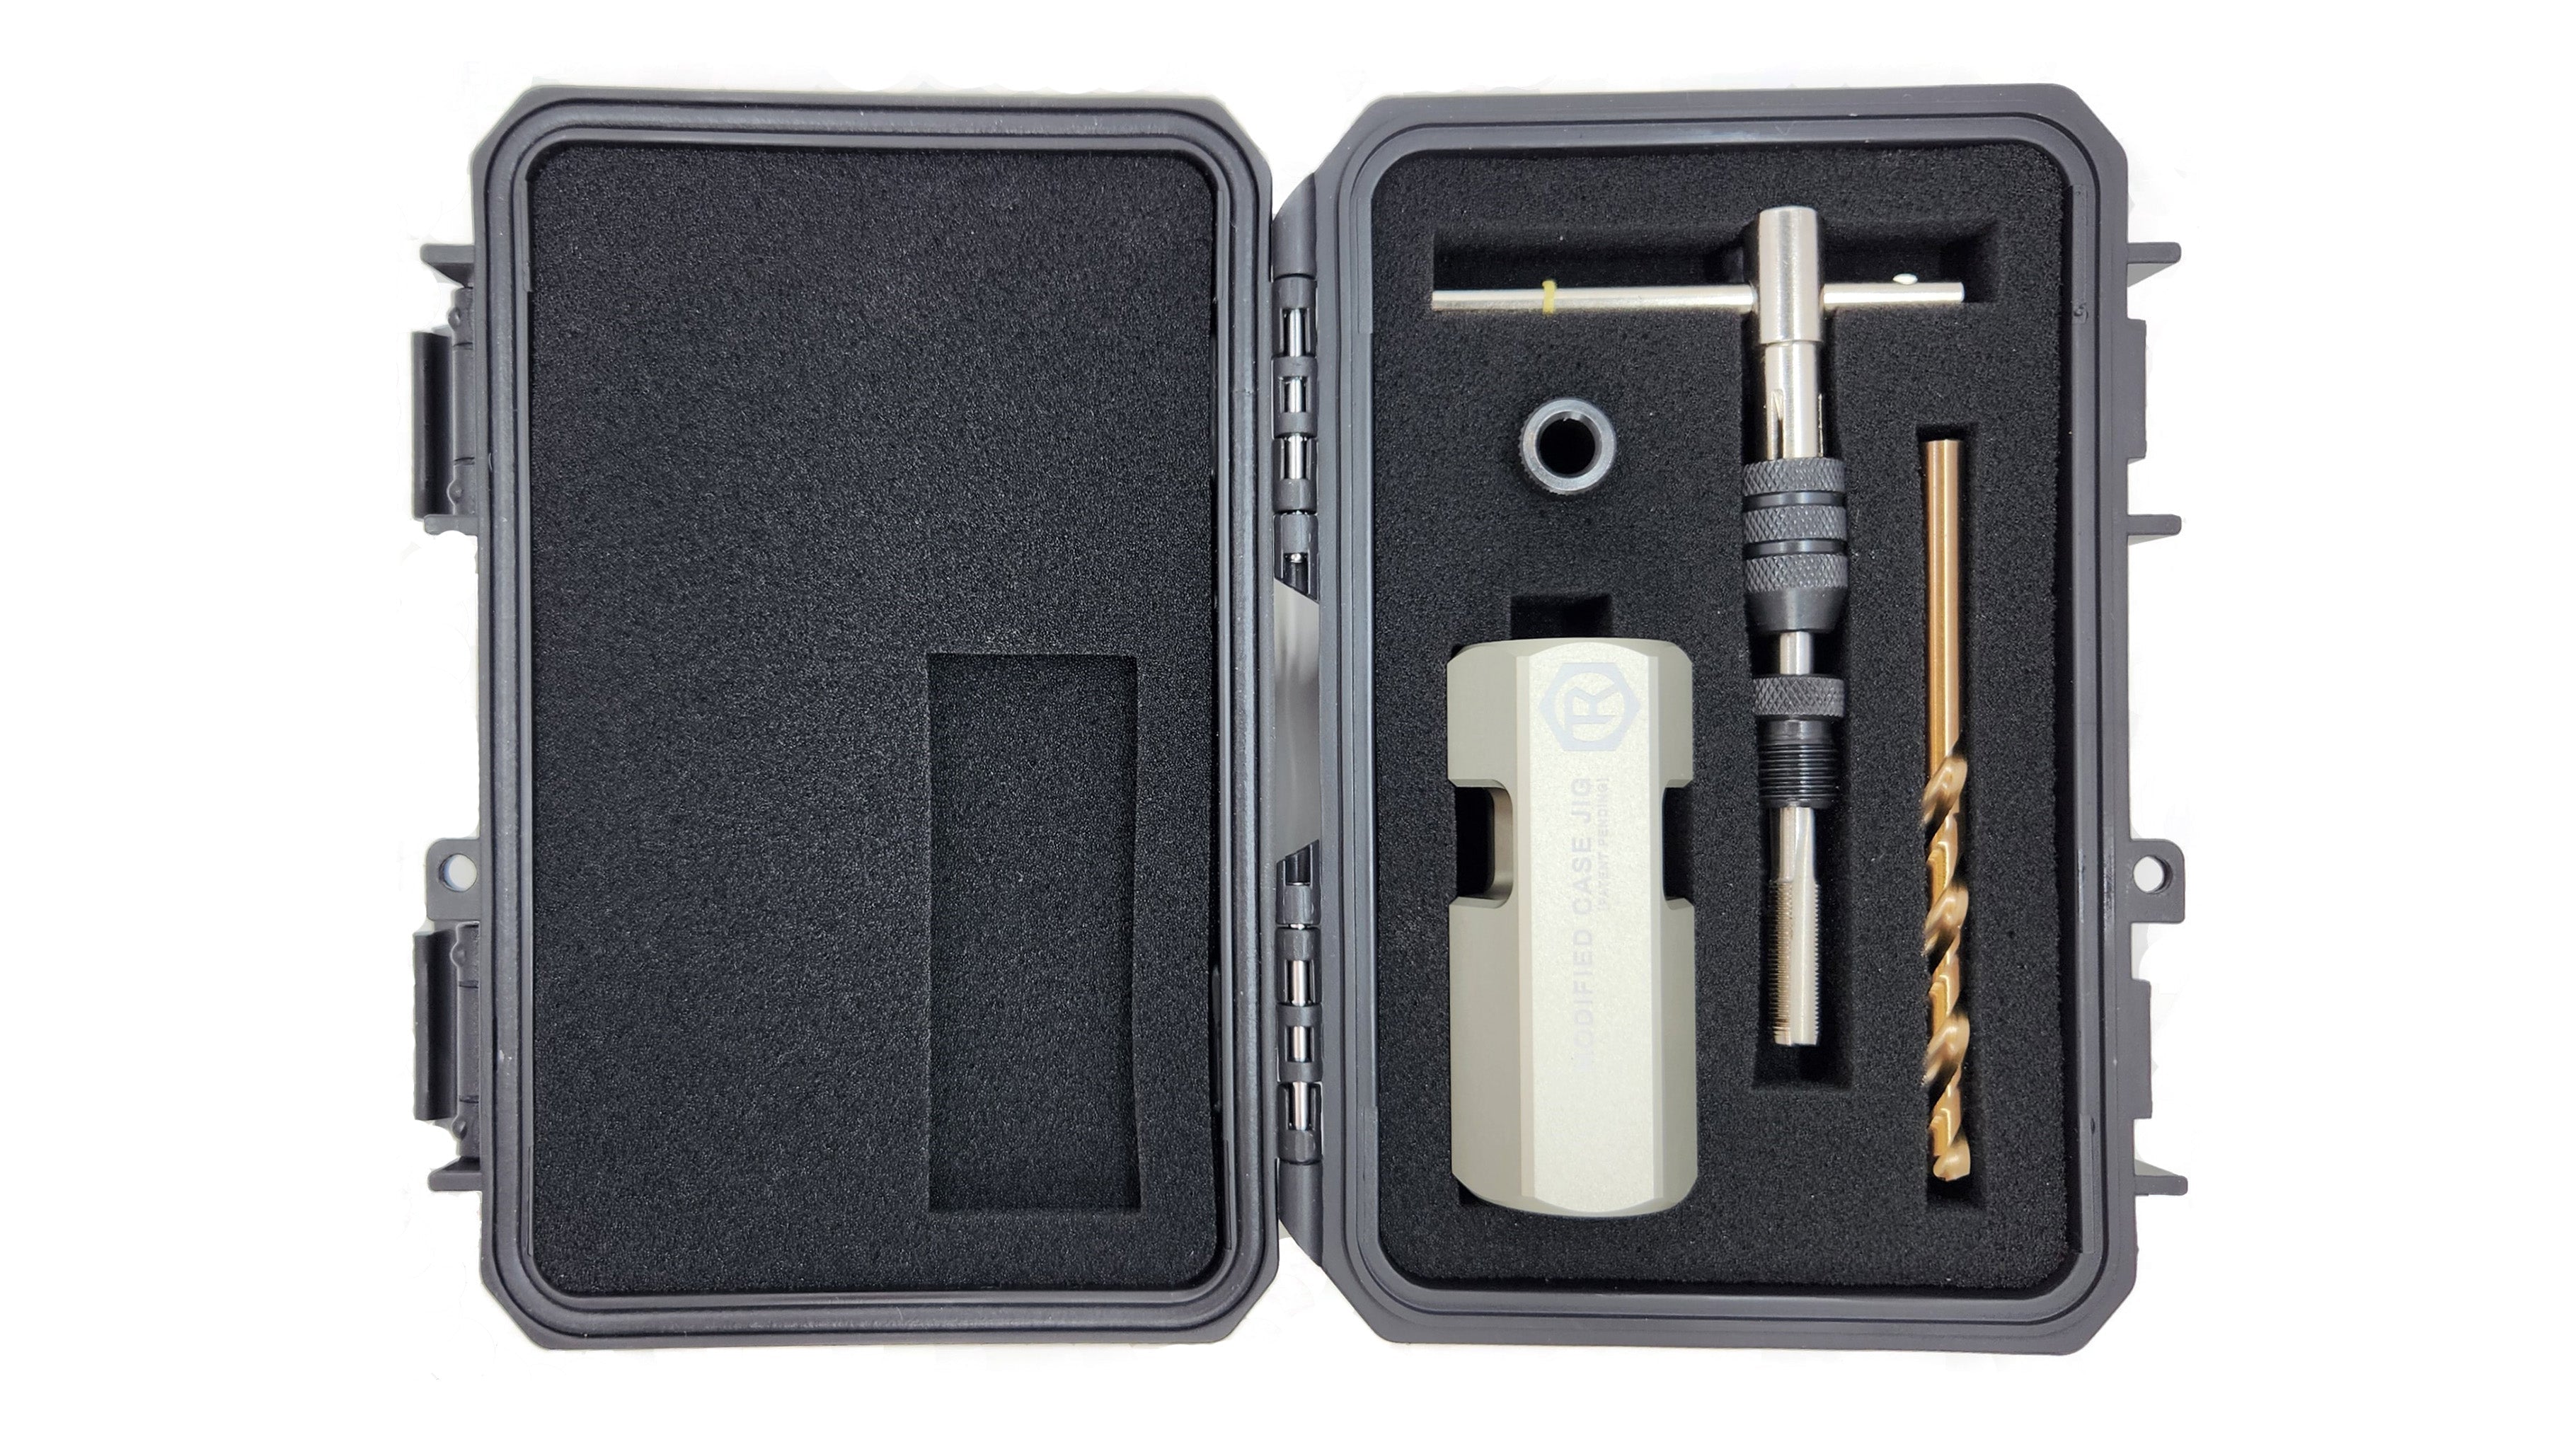
Included In The Kit
-
Modified Case Jig
-
Threaded Drill Guide
-
Drill bit
-
5/16x36 Tap
-
Threaded Tap Guide
-
Tap handle
What You'll Need
-
Sizing die set up for the case you're modifying (standard 7/8x14 standard thread type)
-
Piece of once fired brass (from the rifle/chamber you're loading for)
-
Cordless Drill (alternatively, a drill press will work, but the system is designed to work just as well with a simple cordless drill)
-
Reloading press with RCBS style shell holders and a shell holder fitting the case you're modifying
Instructions
-
Ensure the provided drill guide bushing (larger of the two) is threaded into the end of the modified case jig (do not tighten beyond finger tight.)
-
Remove the decapping stem and neck bushing (if applicable) from the resizing die.
-
Insert a fired, de-primed piece of brass into the open end of the sizing die. (The die here is primarily used to hold and grip the brass case while drilling and tapping)
-
It is advisable to clean the brass case and inside of die before inserting the brass casing into the die. The idea here is to use the die to grip the case. A quick hit of acetone, brake cleaner or rubbing alcohol to outside of case and inside of sizing die should be sufficient.
-
Thread the die with brass case into the open end of the Modified Case Jig. Tighten the die by hand into the jig until you meet firm resistance with the case head contacting the internal face of the jig and tightening into the sizing die. This may require you to move the die locking ring. When properly tightened, this will prevent the brass case from spinning during the drilling and tapping procedure.
-
If the case does spin during drilling and tapping, the following methods may improve grip:
-
Remove excess sizing lubricant from the brass case and inside of sizing die to improve grip.
-
Add a single wrap of electrical tape around the case approximately ⅛” below shoulder-case wall junction
-
Re-tighten the case and die into the modified case jig
-
Using the provided drill bit, drill a hole through the primer pocket of the brass case.
-
If possible with your cordless setup, set drill bit depth to avoid accidentally marring the inside shoulder or case neck as it punches through
-
A small drop of cutting fluid or lubricant can be added to aid in the drilling operation, but is not necessary as brass is very soft and cuts easily with the provided drill bit. Avoid getting excess lubricant or cutting fluid into the die or case (may cause slippage during drilling or tapping)
-
Apply slow and consistent pressure while drilling to avoid catching as the bit finishes the cut into the inner portion of the primer pocket. Pay particular attention as the drill bit nears the end of the hole as it can tend to catch and create a burr in the soft brass. If this happens, backing out, increasing drill speed and VERY slowly approaching the cutting surface will often clear the burr and allow finishing a clean cut hole
-
Periodically clear brass chips and material from the ports in the side of the case jig as necessary. Use caution to avoid brass shavings from cutting your hand as they spin. Wearing gloves is advisable.
-
Once drilling is complete, remove the drill guide bushing, leaving the die and case in the jig body.
-
Using the provided thread tap and handle, carefully insert the tap through the jig and thread the tap guide bushing assembly into the top of the jig until finger tight. Using consistent pressure, rotate the tap by hand to cut threads into the drilled out primer pocket of the brass case.
-
Pay attention to the resistance encountered during the tapping procedure. If significant resistance is encountered, carefully reverse the tap to clear out material and resume tapping.
-
A small amount of cutting fluid may be used to aid in cutting threads, but the soft brass should offer little resistance. Avoid fluid leaking into the case/die junction to avoid slippage.
-
Carefully back tap out of case and drill guide ensuring tap threads remain aligned with newly cut threads to avoid cross threading.
-
Reverse sizing die with tapped case out of the modified case jig.
-
Case may need some pressure to remove from the sizing die. To remove:
-
Install die with brass case into your reloading press
-
Removing the RCBS style shell holder, raise the ram of the press and carefully install the shell holder into the press, simultaneously capturing both the press ram and the case head.
-
Slowly lower the press ram to pull case from die.
-
Your completed, custom tapped and threaded modified case should easily thread onto your Overall Length Gauge!
Additional tips
-
It may be helpful (though not necessary) to lightly debur the mouth of the newly tapped threads. This can be done by hand with a debur tool, large diameter drill bit, countersink or even a knife blade in a pinch.
-
Clean and remove chips and excess material or lubricant from your new modified case before use.
*Hornady Lock N Load is a registered trademark of Hornady Manufacturing Company.


Share: